
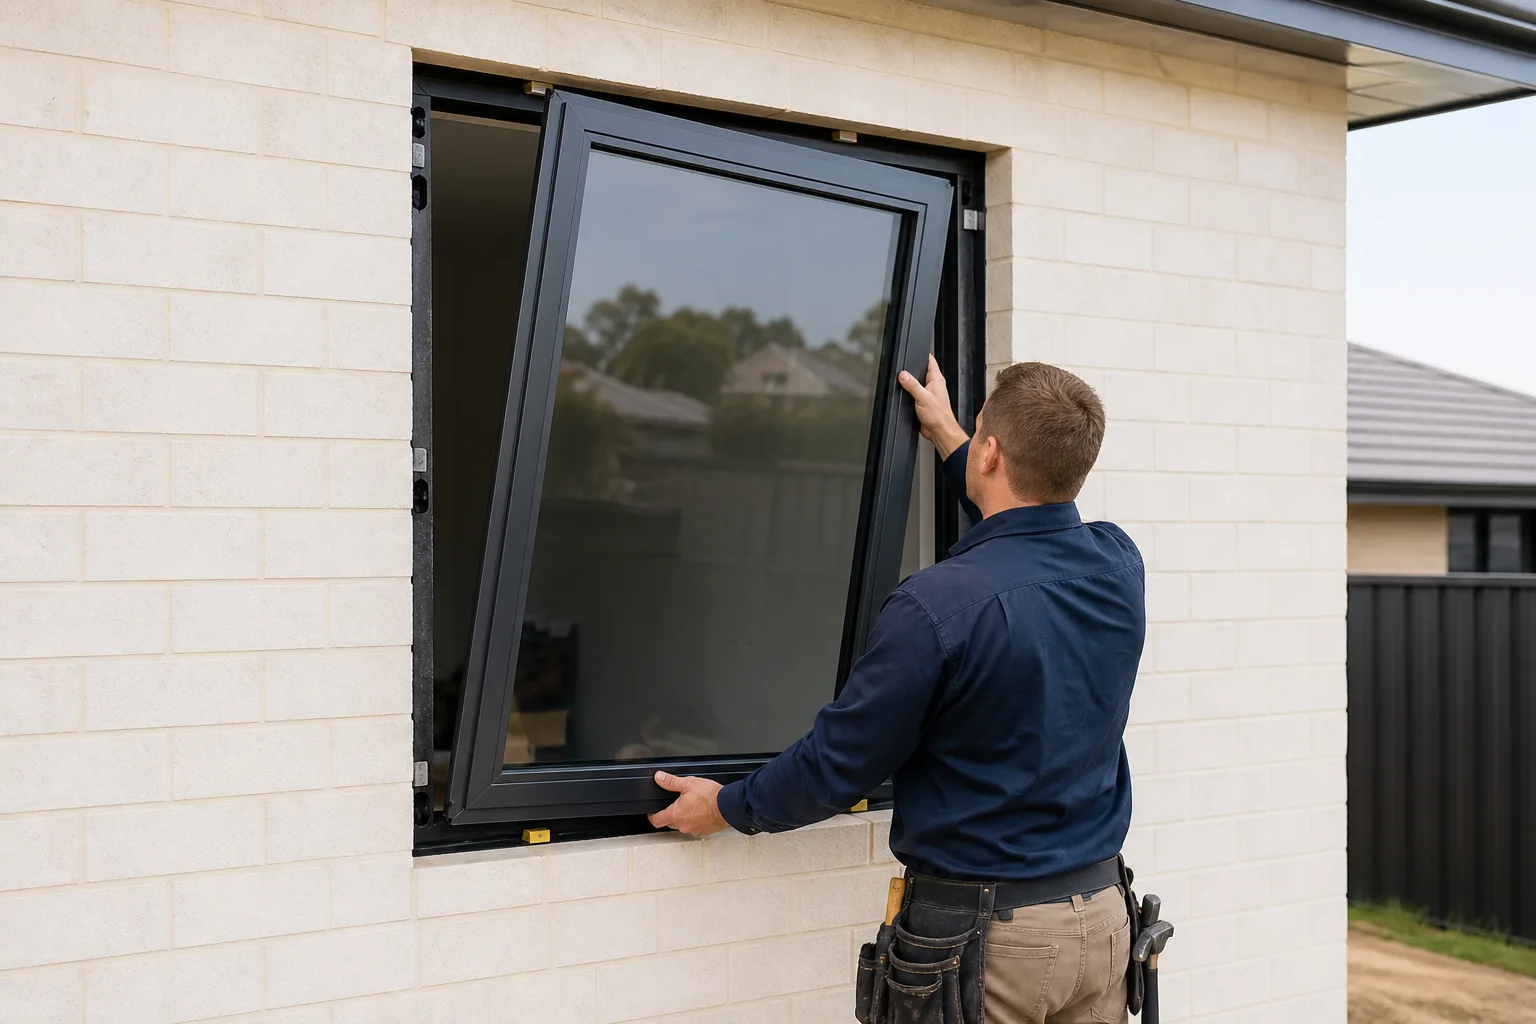
Casement window installation is the process of setting, packing, fixing, flashing and sealing a hinged window so the frame remains square, the sash operates freely and water drains to the exterior. In Australia, the correct detail depends on the wall system, wind classification, window documentation and applicable National Construction Code (NCC) provisions. This is not simply a matter of filling the perimeter with sealant: the opening, support, fixings, flashings and drainage path must work together.
Key Takeaways
- Confirm the approved window, opening and wall details before removal or installation.
- Keep structural building loads off the window frame and preserve the required head clearance.
- Pack at appropriate support and fixing locations without blocking flashings or drainage.
- Check square, plumb, level, sash clearances and water management before finishes conceal the work.
- Use the manufacturer’s current instructions and a suitably qualified installer where licensing or project conditions require it.
What must casement window installation achieve?
A casement window has a sash hinged at the side and usually opens outwards. Installation must support the outer frame without twisting it, retain the designed sash-to-frame relationship and connect the opening to the wall’s weatherproofing strategy. A frame that looks acceptable while closed can still bind, leak or place uneven loads on hinges when opened.
The Australian Building Codes Board’s NCC Housing Provisions Part 8.2 states that structural building loads must not be transferred to the window assembly and specifies a minimum 10 mm gap above the assembly for the covered building situations. Always check the adopted NCC edition, state or territory variations and the project’s approved documents rather than treating one clause as a universal detail.
Checks before installing a casement window
| Check | Why it matters | Evidence to retain |
|---|---|---|
| Window schedule and opening | Confirms size, handing, finish and configuration | Approved drawings and order confirmation |
| Wall construction | Flashing and fixing methods vary by cladding, masonry and cavity design | Wall detail and manufacturer instructions |
| Wind and exposure | The assembly and fixings must suit project design conditions | Project specification and product documentation |
| Glazing | Glass selection must suit location and human-impact risk | Glazing marks and compliance records |
| Opening condition | Out-of-square or damaged substrates can distort the frame | Pre-install measurements and photos |
Measure the opening at several points, compare diagonals and identify where the sill will drain. Resolve discrepancies before placing the window. Do not cut structural members, alter waterproofing or improvise a fixing layout without approval from the relevant designer or responsible practitioner.
For glass selection, the NCC’s Part 8.3 Glass distinguishes glass requirements from installation of the framed assembly and points to AS 1288 within its scope. That distinction matters: compliant glass alone does not prove that the complete installed window suits wind, water or structural conditions.
A practical installation sequence
1. Verify the product and opening
Match the window label, dimensions, hinge side, drainage orientation and finish to the schedule. Inspect frames, glazing, seals and hardware for transit damage. Confirm that the rough opening, sill support and flashing preparation match the approved detail.
2. Prepare the water-management layers
Install sill and opening flashings in the correct sequence for the wall type. Flashings should direct incidental water outwards and remain unpunctured or unobstructed where the design requires drainage. NCC requirements vary by cladding system; for example, Part 7.5 contains specific provisions for timber and composite wall cladding openings.
3. Set, pack and temporarily secure
Place the frame on durable, compatible support packers at the nominated positions. Centre it to maintain specified perimeter gaps. Check sill level, jamb plumb, head level and both diagonals. Temporary restraint should hold alignment without pulling a bowed opening into the window.
4. Fix without distorting the frame
Use the fixing type, edge distances, spacing and corrosion protection specified for the assembly and substrate. Tighten progressively and recheck dimensions. A fixing driven too hard can bow the jamb and change the compression of weather seals.
5. Test the sash and hardware
Open and close the sash repeatedly. Confirm consistent margins, positive locking, stable hinges and unrestricted stays. Adjustment is not a substitute for correcting a twisted outer frame. If operation changes after a fixing is tightened, investigate alignment.
6. Seal, finish and document
Complete perimeter air and water seals with compatible materials, while keeping drainage paths and weep points clear. Re-test operation after linings and trims are installed. Photograph concealed flashings and fixings, and retain product, glazing and installation records.
Casement window installation checklist
- Correct size, handing, colour and glazing confirmed.
- Opening measured at top, middle and bottom; diagonals checked.
- Approved head clearance maintained.
- Frame supported and packed at required locations.
- Flashings lap and drain to the exterior.
- Fixings match the documented substrate and exposure.
- Frame remains square, plumb, level and untwisted.
- Sash opens, closes and locks without binding.
- Weep holes and drainage paths remain clear.
- Photos and compliance documentation retained.
Homeowners comparing opening styles can also review Forge’s guide to kitchen casement windows, the overview of Low-E glass and double glazing, and the explanation of WERS window ratings. These resources support early decisions but do not replace project-specific documentation.
Frequently asked questions
Can I install a casement window myself?
That depends on the project scope, building type, local licensing rules and whether structural or waterproofing work is involved. Even where owner work is lawful, incorrect flashing or frame alignment can cause hidden damage. Obtain project-specific advice and use qualified trades where required.
How much gap should be left around a casement window?
Use the manufacturer’s installation instructions and approved wall detail. For situations covered by NCC Housing Provisions 8.2.2, a minimum 10 mm gap is specified above the window assembly, with additional allowance potentially needed for settlement over wide openings.
Should expanding foam be the only perimeter seal?
No universal product should be assumed to perform every function. The opening may need separate flashing, drainage, air-sealing, backing and weather-seal components. Use compatible products in the documented sequence and do not block cavities, weep paths or sill drainage.
Why does a new casement sash rub?
Common causes include an out-of-square opening, bowed jambs, uneven packing, over-tightened fixings or hardware adjustment. Recheck the outer frame and diagonals before adjusting hinges. Correcting hardware alone may hide the underlying installation error.
What records should I request after installation?
Request the approved window schedule, product and glazing identification, manufacturer instructions, installer details, photographs of concealed flashings and fixings, and any certificates required by the relevant authority. Records should correspond to the actual installed product and address.
Next step
Prepare your opening dimensions, wall construction, wind-design information and glazing needs, then contact Forge Windows to discuss an appropriate window configuration and the documentation needed for your project.